Showing posts with label NATO. Show all posts

Friday, April 20, 2012

A "so long" game to Cold War in 20mm (Part 2)...

Last I checked, I was nearing an old building, so let's start off with Dad's turn.

Turn 9: Dad
Dad goes on the offensive, moving small elements of his LMG platoon up to the center of town to maybe re-enforce his  sniper. He also moves up Barrows's force consisting of mainly riflemen. 


Turn 10: Me
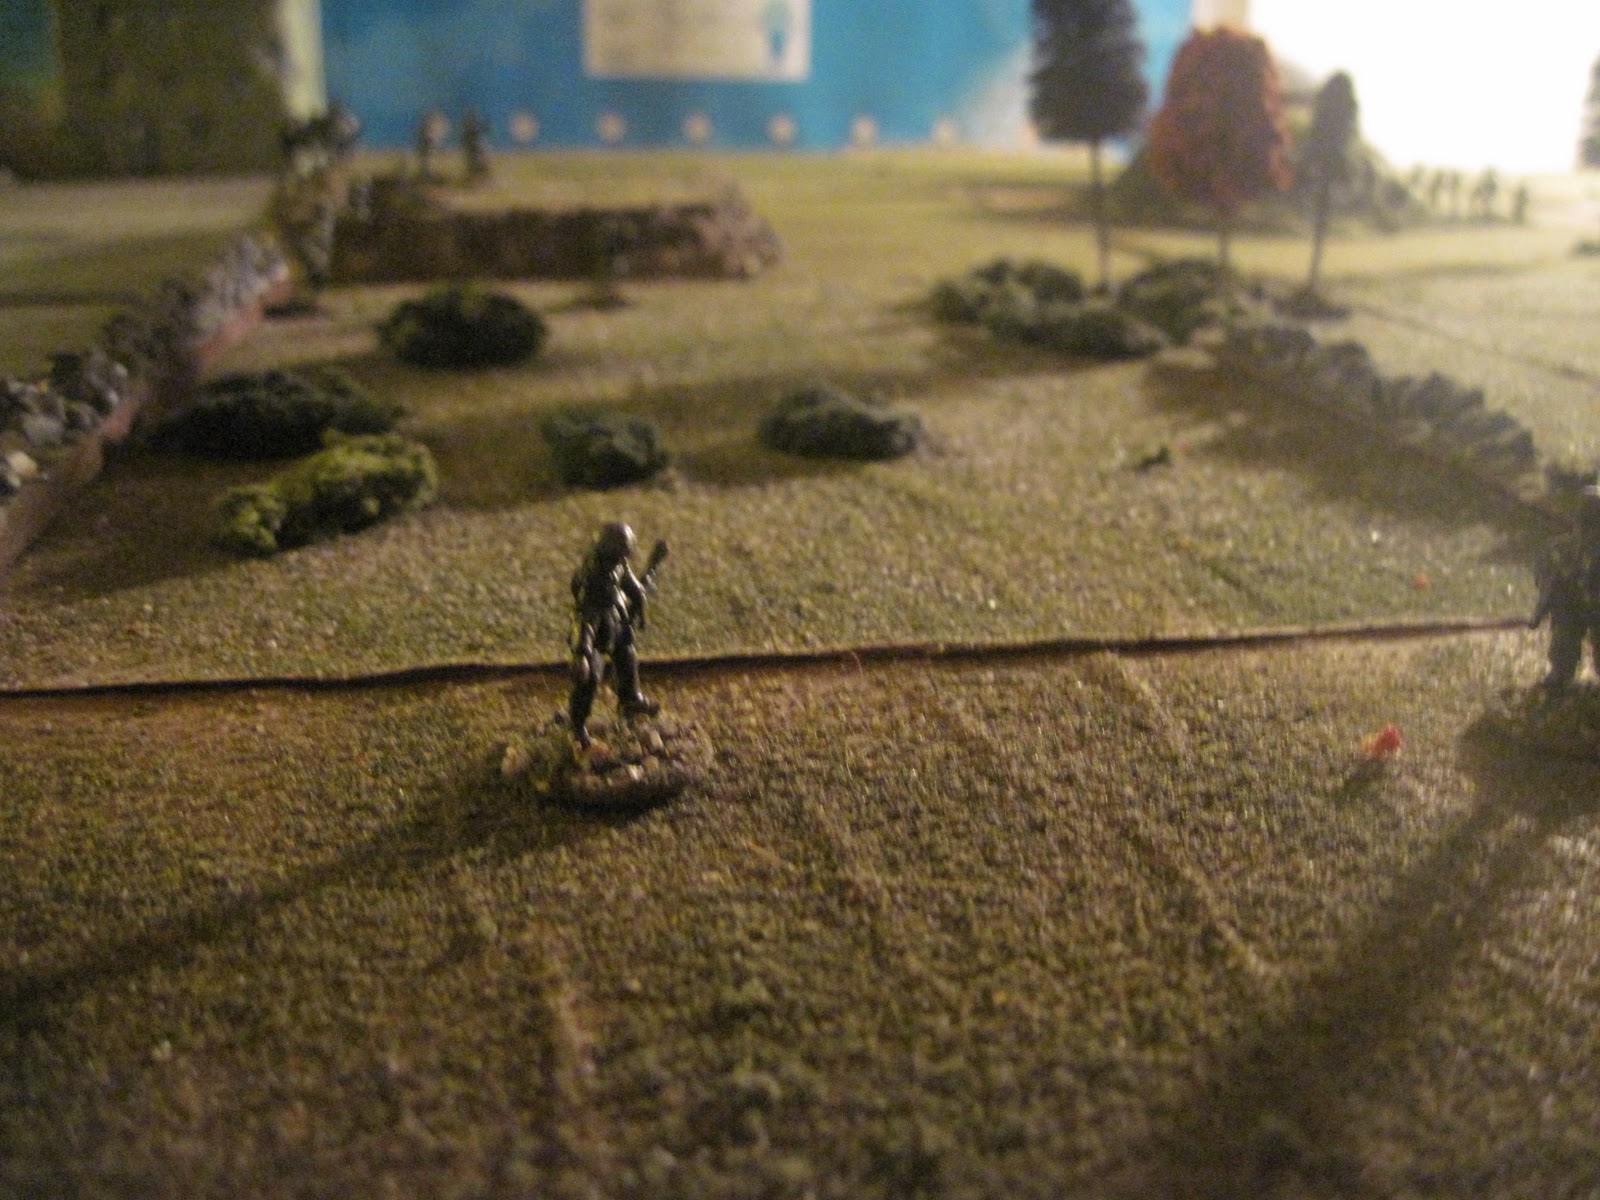
The small heroic platoon moves up to the old building, and I move my Light Machine gunner up to the roof.

I plan to attack, but 1 hit does nothing against a sniper!

So it looks like my Light Machine gunner is stuck (and very well screwed) until his next turn.
Turn 11: Dad
Ah... So Dad IS trying to support the sniper, that or do a full-frontal assault on my forces in the town.

"Infiltrate the house!"
Turn 12: Me
A 9. Sad to say that this will probably be the last move I make in 20mm...

I move up 3 of my soldiers, readying for a surprise!

What's this? An armistice!
This was the first and the last battle for the British and American 20mm troops. It was a bloodless battle, so maybe it was more of an exercise but that's not what matters. I'll admit I'm somewhat sad about leaving the whole 20mm thing for maybe WWII or maybe the Cold War in 15mm.
For now, it's to the shelves with my old 20mm miniatures. 

I'll admit I'm a little bit sad to stow them away for now, but then again, the 15mm scale is far cheaper and it takes up far less room.
While it may be "So Long" to 20mm, I'll know they're always on the shelf if I need them.
In a few weeks I may be getting some things from Flames of War/Battlefront, so stay tuned!

A "so long" game to the Cold War in 20mm (Part 1)...

So, today is the day that I officially let go of the Cold War in the 20mm scale.
From now on I will finding another era, and maybe staying in the same scale, or switching over. I am starting to debate whether or not to stick with the Cold War, and maybe experiment with WWII with my birthday coming up and all.
Anyway, me and my dad did a classic Soviets vs. NATO game. I didn't bother choose a location to play in.
Anyway, to the game!
Boogeyville, our battlefield of choice.
Turn 1: Dad
Dad's forces. He's got about a company if you're talking about the 2nd Edition Standoff: Cold War rules.

Even Barrows makes his return for his last hurrah.

Dad rolls an 8 and moves his Russian sniper up. He also decides to move a tank commander up (even though tank commanders really do... nothing).

He positions himself on the roof, still too far away from my troops outside of town.

His (useless) tank commander is on the roof as well now.
Turn 2: Me
I roll a decent 10. Not bad, young grasshopper, not bad. 

I move up elements of my U.S. forces along with a few Brits. I wanted my Yanks and Brits to see some battle before they were officially retired.
Turn 3: Dad
A barely-decent roll of 5.
He pulls a Brody and moves Barrows up into the line of fire. I never thought I'd actually be rooting for Barrows but since this is kind of a special occasion... GO BARROWS GO!!
Turn 4: Me
An almost-maximum roll of 11. Still, not bad.

That results with me moving 2 riflemen (one of them being Miginty) and 1 light machine gunner multiple times up to a little ridge.
Turn 5: Dad
Another somewhat unlucky roll.

Dad moves up his cleverly-organized LMG platoon into the town.
Turn 6: Me
Not a bad roll of 7.

With those 7 I decide to move more infantry up to the little ridge, readying for my assault on the town.  I also elements of my British forces up the right flank to infiltrate Barrows's team.
Turn 7: Dad
Dad's first very good roll.

It's now "full speed ahead" for him and his infantry. They're heading around to my right flank, which is defended primarily by Trained West Germans and Veteran British riflemen. If he does break through, I do hope that they can hold the line!
Turn 8: Me
I continue to move my platoon of infantry up, nearing my Dad's line...


Monday, February 13, 2012

West German Defence Unit

After this weekend's cleaning up project, I decided to get back to painting. First thing's first, I needed to finish up my West Germans.
I think that this unit of 3 platoons is more of just a defence unit, and it might not see too too much action, but the war effort is needed, so here they are!
In order, it goes the anti-tank support platoon, the ground anti-air platoon and then the light machine gun support platoon.

The rifleman on the left has a U.S. style helmet cover, and the anti-tank weapon firer (hey... he looks familiar) has a regular West-German style helmet cover.

Remember ol' Private Rosenberg (on the left) ? Ah yes, he's our favourite Jewish army man, oh, the chutzpah he had to do service in the Norwegian Army!! He's seen quite a bit of battle. Anyway, this is the ground anti-air platoon.

The support light machine gun platoon. Just your Average Joe anti-infantry platoon.
That's all for now. I might actually be getting the C/O set to accommodate this set, making it a company (finally).
Stay tuned!

Tuesday, February 7, 2012

Cold War Turkish experiment

I started painting again last night. I painted some Israelis, but this morning I painted an unusual Turkish soldier with one of my Elhiem Pakistanis. I think that the West Germans would have been a little more suiting, but I needed those for the actual West Germans so there was nothing I could do.

Full moon tonight. I don't know why I took this picture, I really just felt like it (taken from my porch).

The Turk is on the left and the Israeli is on the right.


Painting the pack of rifle grenades was kind of a pain. I had to do some additional research of what the actual pack itself looked like.

Here's the Turk. In order to paint this one, I went onto Elhiem's Facebook page and looked at some pictures from Matt Hingley, a sculptor for Elhiem, who also paints the miniatures he makes. I looked at the picture he uploaded of Elhiem's new NATO riflemen set, and he painted one of them in Turkish army uniform for the Cold War, so that was my painting guide.


Another Israeli.  
Stay tuned!

Friday, February 3, 2012

Weekend re-painting project

I've decided that I should probably change my Canadians and Norwegians over to their original design, Israelis and West Germans.
I primed them...

And then covered them in black paint (I'm out of black primer).

The first West German Rifleman I painted up.

There might be updates over the weekend, so stay tuned!

Tuesday, January 31, 2012

West Germany 1978 Game Part 6: Canadians stay put/Norwegians take trench

The battle continues and Brody kicks the game off with a single rifleman.
Turn 36: Brody
Starting right were the battle left off, right near the hill.

Brody's medic is standing still. He rolls, misses and it goes to me.
Turn 37: Me
I move 2 Canadians back to the hill, 1 towards the hill and 2 more reservists up.

I get a two, and another decent roll after this one sealed Brody's rifleman's fate.

TAKE THAT!!! Brody's medic is dead. He'll be at the graveyard soon. 

Turn 38: Brody
Brody gets a decent 4 and moves up 2 platoons to the trench.
Turn 39: Me
I hold my ground on the hill. These Canadians are veterans now. I think this is it for them in the battle.
Turn 40: Brody
Brody's first good roll for the day gets him a 6. He continues to move 2 platoons up to the trench.

He moves another platoon up to the bunker.
Turn 41: Me
Over to the east, the Norwegians go over the hill, advancing right onto the trench.

In range of my LMG's and riflemen, one of Brody's snipers (which posed a huge threat to me) is about to get it.

A huge weight on my shoulders gone.
Turn 42: Brody
Brody is not happy about me advancing. He stays put.

He guns down one of my Norwegian riflemen. The first Norwegian casualty is the soldier I christened "Pte. Rosenberg" for the West German Army.
Turn 43: Me
A decent roll gets me 5 moves me even closer towards the trench.

I gun down 1 of Brody's officers and one of his LMGs.
Turn 44: Brody
Brody moves up 1 of his riflemen.

He guns down one more of my riflemen.
Turn 45: Me
Moving more units up to the trench. I didn't intend on taking the trench with my Norwegians, but I did it anyhow.

I shoot one of his riflemen down.
Turn 46: Brody
Another Norskie goes down.
Turn 47: Me
Norwegians finally storm the trench.

I kill another 2 riflemen. The Norwegians are on a roll! 
Turn 48: Brody
Brody finally gets wind that it's my LMG doing the dirty work, so he shoots him down. 
There were peace talks during dinner (which was Shepard’s Pie, yummy), and I can say with confidence that they were productive.
I successfully convinced Brody to end in a ceasefire.
Brody's forces surrender. 
I lost a total of 6 soldiers, which is nothing in comparison to the 10 Brody lost.
I'm not too sure of where/when the next game will be. I was really looking forward to using my US troops, but that didn't happen.
Stay tuned!