The battle continues and Brody kicks the game off with a single rifleman.
Turn 36: Brody
 |
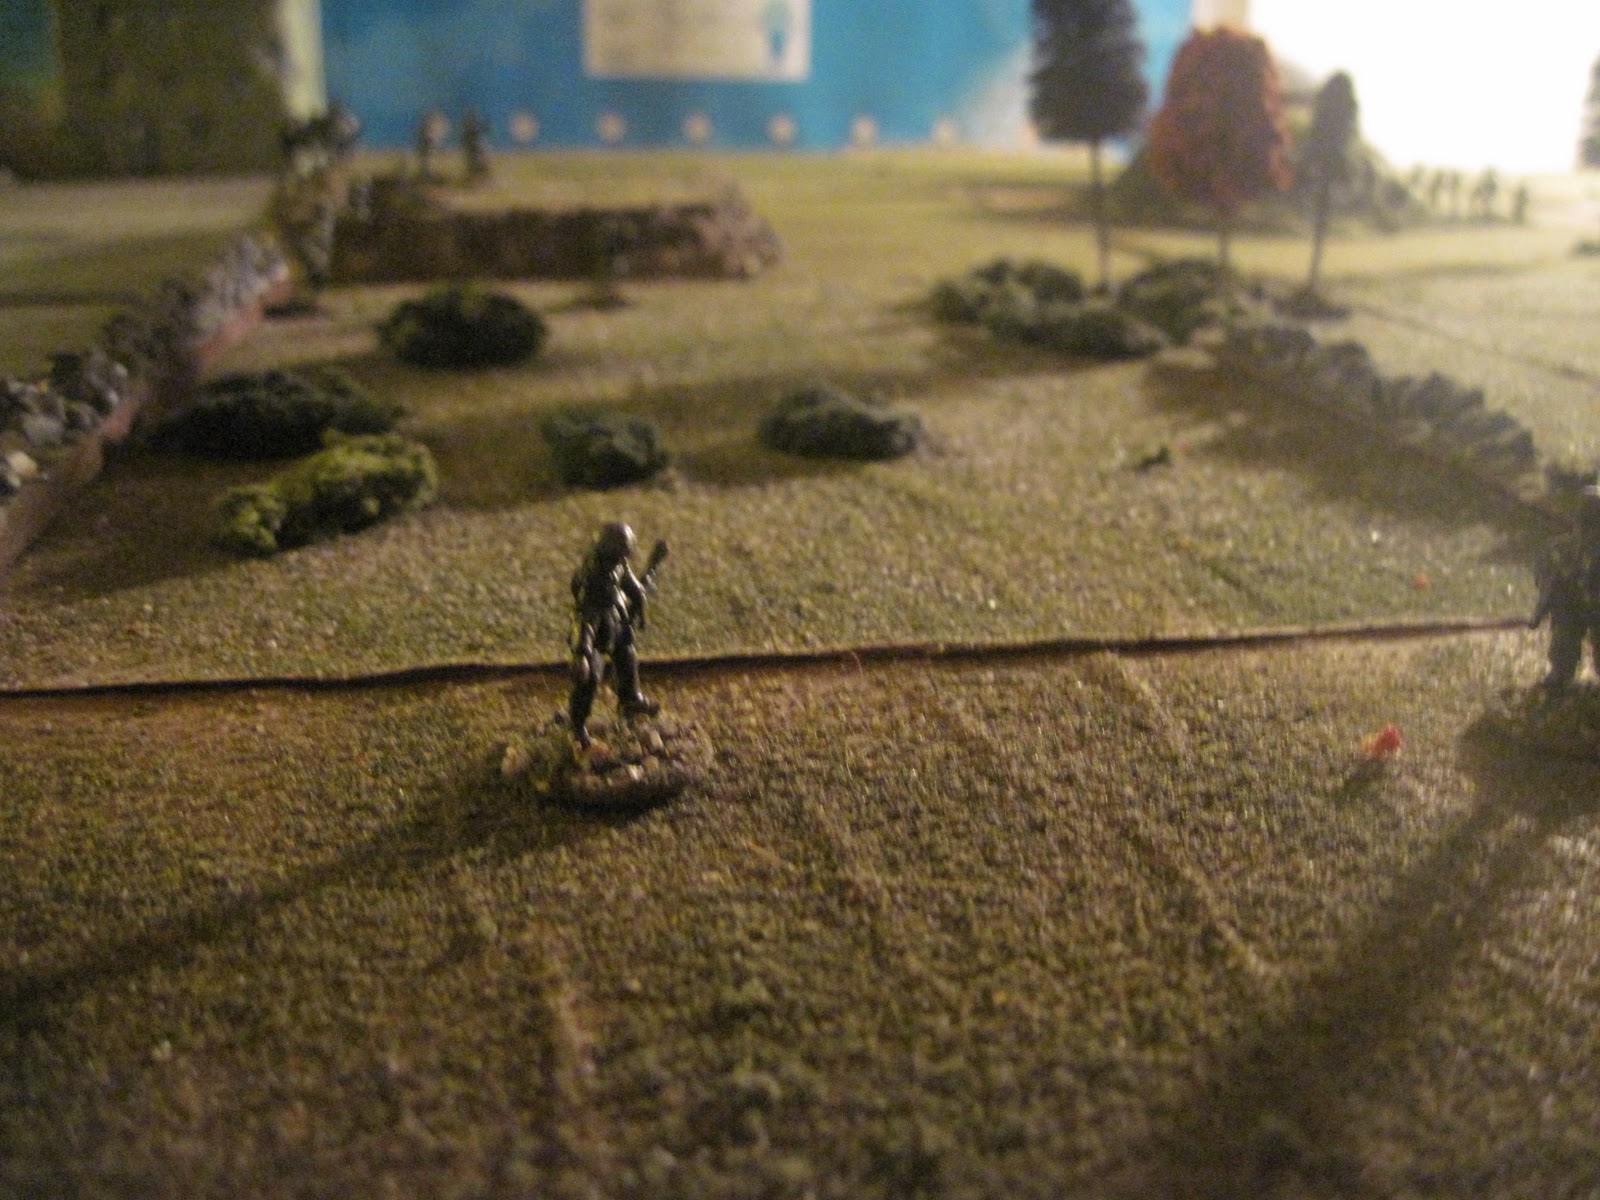
| Starting right were the battle left off, right near the hill. |
 |
| Brody's medic is standing still. He rolls, misses and it goes to me. |
Turn 37: Me
 |
| I move 2 Canadians back to the hill, 1 towards the hill and 2 more reservists up. |
 |
| I get a two, and another decent roll after this one sealed Brody's rifleman's fate. |
 |
| TAKE THAT!!! Brody's medic is dead. He'll be at the graveyard soon. |
|
Turn 38: Brody
 |
| Brody gets a decent 4 and moves up 2 platoons to the trench. |
Turn 39: Me
 |
| I hold my ground on the hill. These Canadians are veterans now. I think this is it for them in the battle. |
Turn 40: Brody
 |
| Brody's first good roll for the day gets him a 6. He continues to move 2 platoons up to the trench. |
 |
| He moves another platoon up to the bunker. |
Turn 41: Me
 |
| Over to the east, the Norwegians go over the hill, advancing right onto the trench. |
 |
| In range of my LMG's and riflemen, one of Brody's snipers (which posed a huge threat to me) is about to get it. |
 |
| A huge weight on my shoulders gone. |
Turn 42: Brody
 |
| Brody is not happy about me advancing. He stays put. |
 |
| He guns down one of my Norwegian riflemen. The first Norwegian casualty is the soldier I christened "Pte. Rosenberg" for the West German Army. |
Turn 43: Me
 |
| A decent roll gets me 5 moves me even closer towards the trench. |
 |
| I gun down 1 of Brody's officers and one of his LMGs. |
Turn 44: Brody
 |
| Brody moves up 1 of his riflemen. |
 |
| He guns down one more of my riflemen. |
Turn 45: Me
 |
| Moving more units up to the trench. I didn't intend on taking the trench with my Norwegians, but I did it anyhow. |
 |
| I shoot one of his riflemen down. |
Turn 46: Brody
 |
| Another Norskie goes down. |
|
Turn 47: Me
 |
| Norwegians finally storm the trench. |
 |
| I kill another 2 riflemen. The Norwegians are on a roll! |
|
Turn 48: Brody
 |
| Brody finally gets wind that it's my LMG doing the dirty work, so he shoots him down. |
|
There were peace talks during dinner (which was Shepard’s Pie, yummy), and I can say with confidence that they were productive.
I successfully convinced Brody to end in a ceasefire.
 |
| Brody's forces surrender. |
|
I lost a total of 6 soldiers, which is nothing in comparison to the 10 Brody lost.
I'm not too sure of where/when the next game will be. I was really looking forward to using my US troops, but that didn't happen.
Stay tuned!


No comments:
Post a Comment